Max filter in image processing, also known as maximum filter, is one of the fundamental denoising filters. In this tutorial, we will go into a detailed and complete understanding of the Max filter in image processing and will implement it using Python programming language. We’ll learn the fundamental principles behind the Max filter and, most importantly, how to apply it and its capabilities using Python and OpenCV.
What is the Max Filter in Image Processing?
Max filter is one of the fundamental operations to reduce noise or improve certain image characteristics in image processing. This is a type of nonlinear filter that replaces each pixel value of a digital input image with the maximum value, that is, the value of the brightest pixel in the neighborhood of the corresponding pixel in the input image.
The neighborhood is defined by a kernel, which is a small matrix or window that moves across the input image (a convolution process). Typically this matrix is 3 x 3, 5 x 5 or 7 x 7 in size.

This filter works the opposite of what the Min filter does to an image. Applying a maximum filter removes negative emissions present in a digital image, darker objects are replaced with brighter ones, thereby getting blurred.
Implementing Max Filter in Python
To apply the max filter, we will use the popular image processing library OpenCV. OpenCV is an excellent open-source tool for image processing and performing computer vision tasks. It can be used for projects like face detection, objection tracking, landmark detection, and much more.
Before we start, make sure you have OpenCV installed, and if you don’t, you can easily install it using the command below:
pip install opencv-pythonNow let’s move on to implementing the Max filter in Python. To do this, we need to input a digital image with noise.

Before you load the input image, make sure it’s in the same folder as your code so you can just provide the image name; otherwise, enter the entire path to the input image.
# importing all libraries
import cv2
import numpy as np

# loading the RGB image
image = cv2.imread('input.png')

# defining the kernel size for the max filter
kernel_size = 5  # you can adjust this as needed

# applying the max filter using cv2.dilate() function
max_filtered_image = cv2.dilate(image, np.ones((kernel_size, kernel_size), np.uint8))

# displaying the original and filtered images
cv2.imshow('Original Image', image)
cv2.imshow('Max Filtered Image', max_filtered_image)
cv2.waitKey(0)
cv2.destroyAllWindows()
Parameters of cv2.dilate() Function
Here the built-in OpenCV’s cv2.dilate() function plays the role of applying the Max Filter to the input image.
cv2.dilate(src, kernel, iterations, anchor, borderType, borderValue)src: the input image
kernel: a matrix that defines the shape and size of the neighborhood for the expansion operation. In our case it is 5, that is, a 5 by 5 matrix.
iterations: an optional parameter that specifies how many times the dilation operation is applied to the input image. By default, the value is 1.
anchor: an optional parameter that specifies the anchor point in the kernel, a pixel in the kernel that is used as a reference point for the expansion operation. The default value is (-1, -1), which is the center of the kernel.
borderType: an optional parameter indicating how to handle the border of the image. It can take values such as cv2.BORDER_CONSTANT, cv2.BORDER_REPLICATE, cv2.BORDER_REFLECT, etc. Thus, using this parameter, we can solve the problem of borders in convolutional processes with images.
borderValue: an optional parameter used when borderType is set to cv2.BORDER_CONSTANT. It defines the value to be used for the border.
Wrapping Up
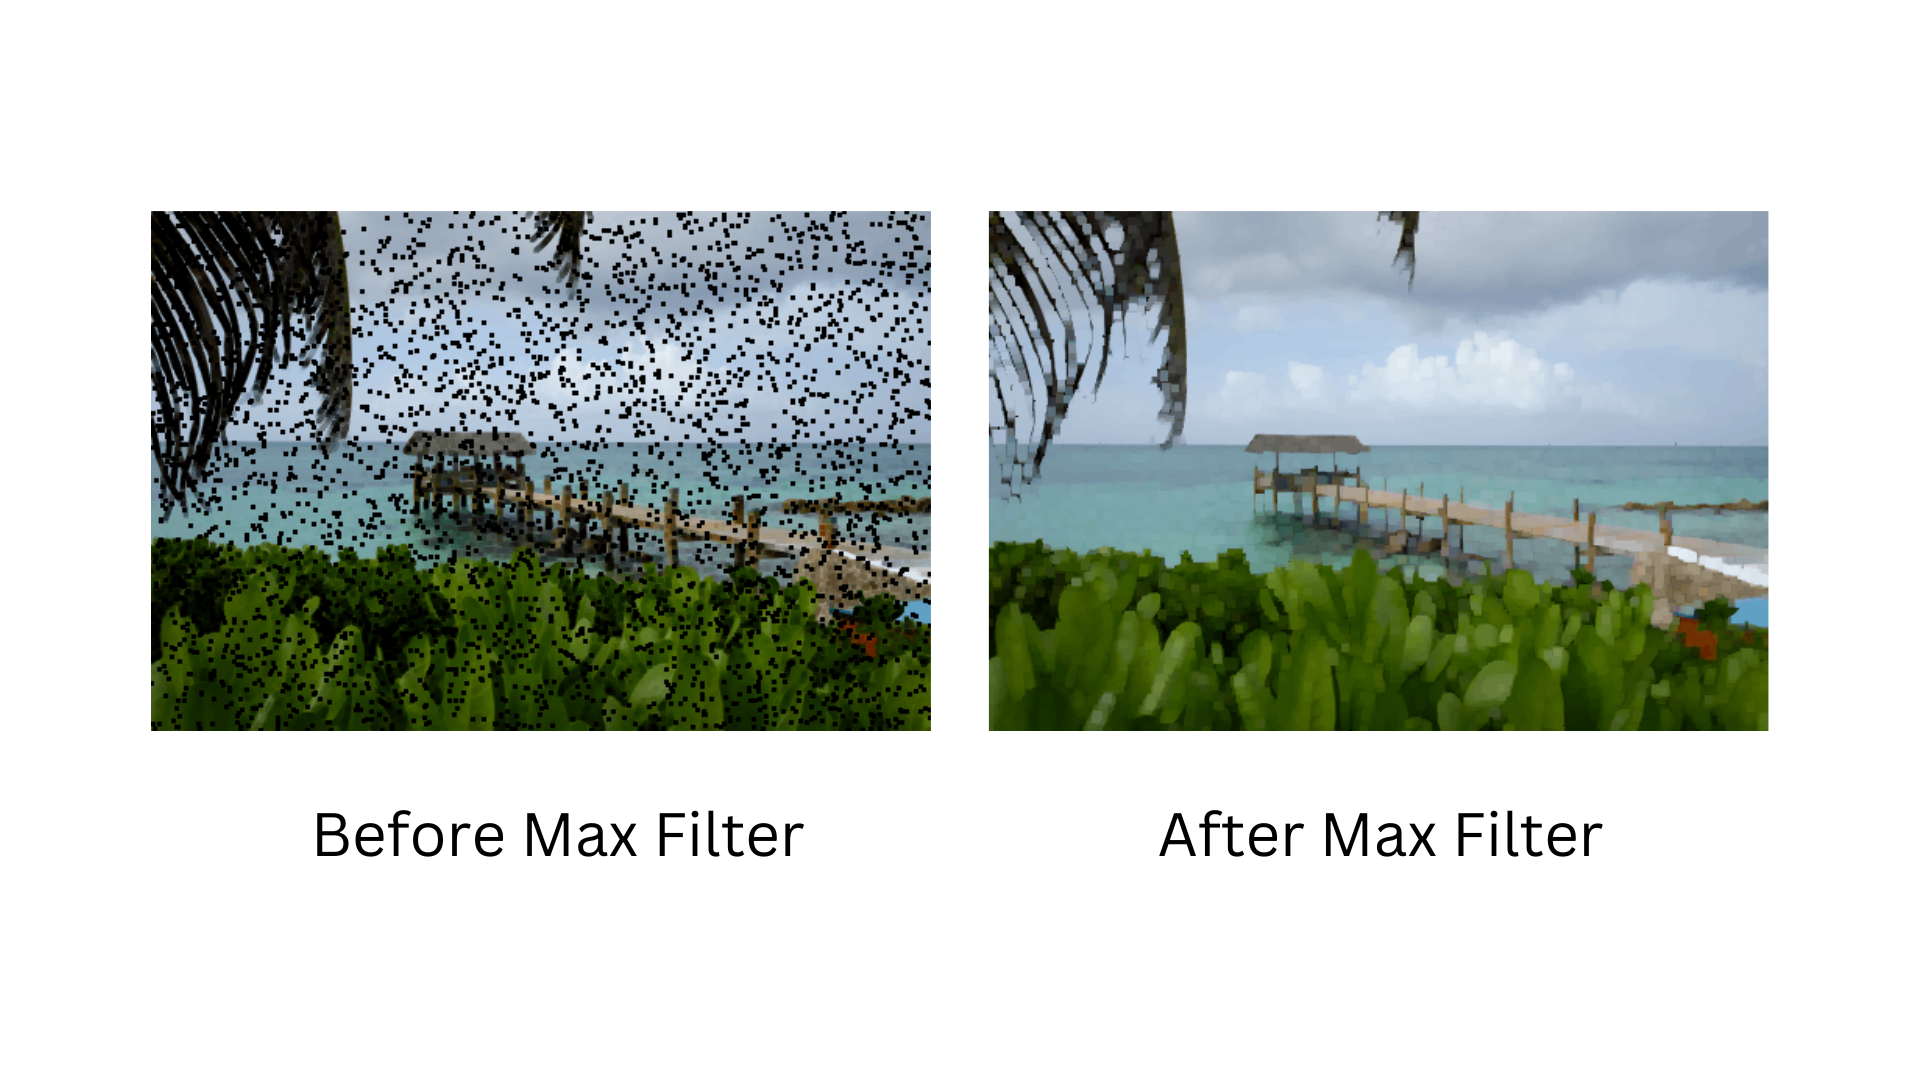
In this tutorial, we looked at the Max Filter in image processing, which is a fundamental method for reducing noise and improving certain characteristics of an image, where each pixel input of the image is replaced by the maximum value within the neighborhood of a certain kernel. Using the powerful OpenCV tool, we were easily able to remove terrible noise from the input image. The output image may have some degree of blur, especially in areas with noise or sharp transitions, however, the difference is visible to the eye!
Stay tuned for more image processing techniques debugging!
1 thought on “How to Implement the Max Filter in Image Processing in Python?”