The median filter in image processing is one of the basic noise reduction filters. In this tutorial, we will cover the median filter in image processing in detail and implement it in the Python programming language. We will not only learn the fundamental principles of the Median filter but will also explore its capabilities using Python and OpenCV.
What is the Median Filter in Image Processing?
The median filter is one of the fundamental operations to reduce noise or improve certain image characteristics in image processing. This is a type of non-linear smoothing filter that replaces each pixel value in the input image with the median value in that pixel’s neighborhood.
The neighborhood is defined by a kernel, which is a small matrix or window that moves across the input image performing a convolution process. Typically this matrix is 3 x 3, 5 x 5, or 7 x 7 in size.

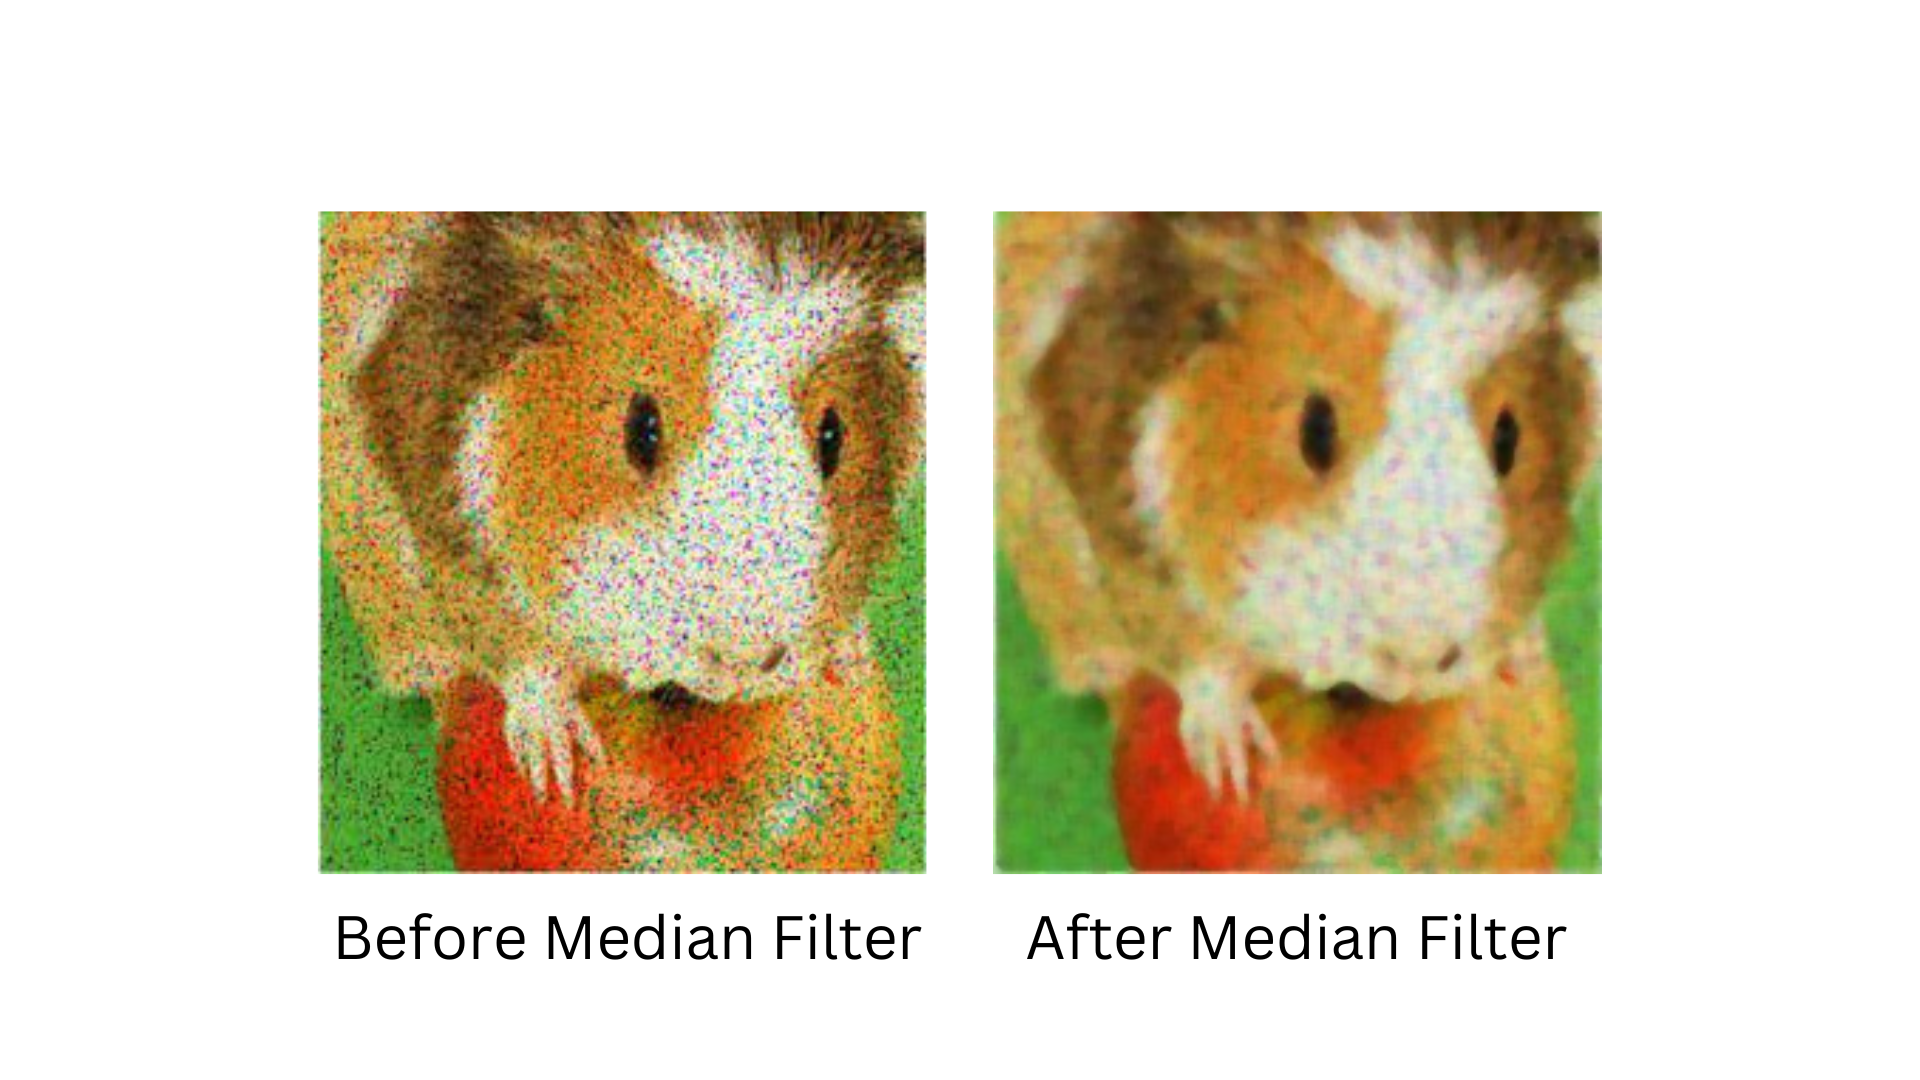
While the Min and Max filters remove noise from an image by blurring, thereby sometimes blurring important details in the image, the Median filter preserves important details of the image along with smoothing noise in the input image.
Implementing Median Filter in Python
To apply the Median filter, we will use the popular image processing library OpenCV. OpenCV is an excellent open-source tool for various image-processing tasks.
Before we start, make sure you have OpenCV installed and if not, you can easily install it using the command below:
pip install opencv-pythonNow let’s move on to implementing the Median filter in Python. For this, we need the input image:

Before you download the input image, make sure it’s in the same folder as your code file so you can just provide the image name; otherwise, enter the full path to the input image.
import cv2

# loading the RGB image
image = cv2.imread('hamster.jpg')

# defining the kernel size for the median filter
kernel_size = 5  # you can adjust this as needed

# applying the median filter using cv2.medianBlur() function
median_filtered_image = cv2.medianBlur(image, kernel_size)

# displaying the original and filtered images
cv2.imshow('Original Image', image)
cv2.imshow('Median Filtered Image', median_filtered_image)
cv2.waitKey(0)
cv2.destroyAllWindows()

# saving the filtered image to a file
cv2.imwrite('output.jpg', median_filtered_image)
cv2.medianBlur is a built-in OpenCV library function that acts as a median filter on an image, replacing the value of each pixel with the median value of the pixels in its surroundings.
cv.medianBlur(src, ksize)src: the input image to which the median filter will be applied.
ksize: the size of the kernel or neighborhood on which the median operation is performed. A larger kernel size results in a stronger smoothing effect, but can also result in more blur in the image.
In general, cv2.medianBlur is usually used to reduce various types of noise in images, however, it is good for removing salt and pepper noise.
Wrapping Up
In conclusion, the median filter is a valuable tool for processing noisy images while preserving important image details. This nonlinear smoothing filter is particularly effective at eliminating salt and pepper noise.
In this tutorial, we learned how to implement a median filter in Python using the OpenCV library. By determining the kernel size and using the cv2.medianBlur() function, we were able to effectively reduce noise in the input image while preserving important image information. By following the steps in this tutorial, you can easily apply the median filter to your images.
Stay tuned for more image processing techniques debugging!